moo cards

Friday, May 27, 2011

FINISHED!!


last night, I finished this cute little guy!!!
the first pic is one I forgot to load yesterday
it just shows the yarn I used (I only used .25 of the skein) and for the face, and the black yarn, I just used a small amount of odds and ends I keep in a box.

I really need to learn how to embroider better, cause I think I messed up his face.
but that's my fault, not anything from the pattern.
the pattern is just wonderful, and easy to understand.
here's a link to the designer


Thursday, May 26, 2011

Itty-Bitty Orangutan Toy


so i am test crocheting a pattern for someone on ravelry.
it is the

Itty-Bitty Orangutan Toy


I am a little late starting it... but found some time this afternoon to get started.

here is my progress so far...
I spent about an hour and 15 minutes on it so far!!

Wednesday, May 25, 2011

Giving it all away


I love my church!!!
www.nlcblog.org
if you want to check it out.
;o)

we recently did our own version of
Extreme Home Makeover

what an incredible thing to be a part of!!
I watch the video of it often for inspiration.

www.vimeo.com/23441011

if that isn't inspiring, I don't know what is

if you listen to the song that's played near the beginning...
it's amazing. Giving it all away....

I've been singing it over and over ever since the makeover!!!
don't know what it is, it just got to me

in the spirit of giving love away...
I have been crocheting little hearts
to "give love away"
<3


Monday, May 23, 2011

ETSY

lately, i've been trying to focus on my etsy shop

www.mrsglass.etsy.com

there must be something I'm not doing
I am VERY open to suggestions, if anyone has any.
I'd LOVE to "hear" them!!!

I think I'm #1 - not getting enough traffic to my shop
and #2 - not carrying the right items???
the DS pen leashes were doing pretty good for a while, but have come to a stop.
I'm trying the bead marker route right now (mostly b/c Morgan and I spent a few hours one day making them and talking, and enjoying "girl time")
I'd like to sew some more items and get them up, but not sure which way to go with it.
I made a few doggie bandannas and enjoyed that.
I'd love to find a nice used embroidery machine so I could personalize items that I make
I think that's a wonderful service to offer people.

anyway, i'm just babbling
and hoping maybe someone will have some ideas for me.
:o)

thanks for listening.

NEW GIVEAWAY!!!

http://happybobbin.blogspot.com/2011/05/give-away.html

definitely go check this one out!!!
:o)

Monday, May 2, 2011

GOTTA do this!!!!!!!!!!

{ a whole new… fridge. } » Wild Ink Press

{ a whole new… fridge. }

Lots of busy design going on here today, so this will be a pretty short post. Dipping my toe into the DIY explanation world here, I thought I would start with something pretty simple. A fridge. A worn out, in-your-garage, second-storage-for-parties sort of fridge. Well, maybe some of you have a fridge like this as your main refrigerator. I know we sure did in our first apartment!

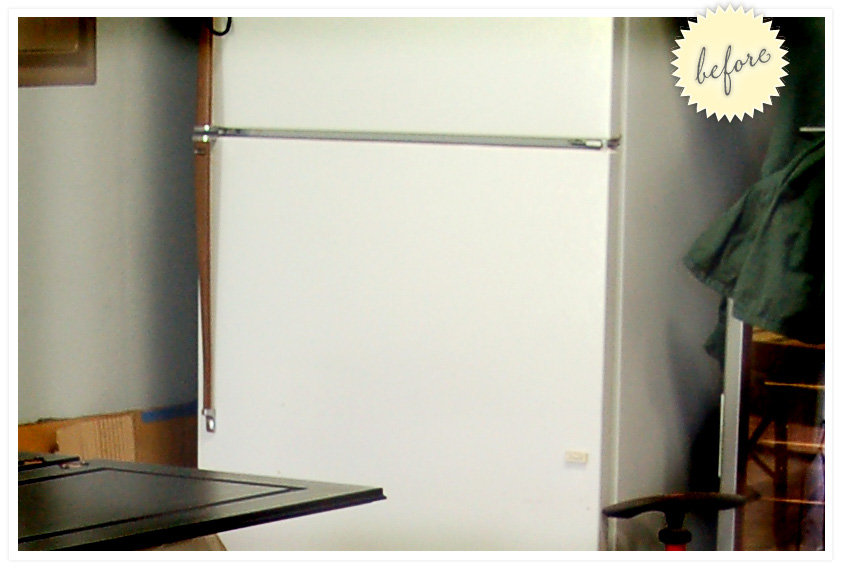
Here’s a before pic of said second/studio fridge. Now, this is ALSO a before shot of what the studio looked like, and it’s pretty grotty. There’s a bit of cabinet painting going on (when we were redoing our kitchen last year, long story for another post), and a lot of funky haven’t been sorted or organized yet mess from moving in. You’ll just have to trust me that it’s gone now. Yup, it’s been moved into a whole other room. Sigh. Wait, I was going to show you the refrigerator:

fridge beforeOkay, functional, but not the greatest looking thing in the world. And it had a few big scratches and some leftover tape stuck to the sides. Now this is the point where a true DIY explainer would have great in between shots: close up of paint, supplies, paint brush in action, tarped and taped fridge, etc. Well, I forgot to take photos of those steps. What can I say, it was before I was blogging conscious. { sorry. } But I’ll give you my best little run-down:

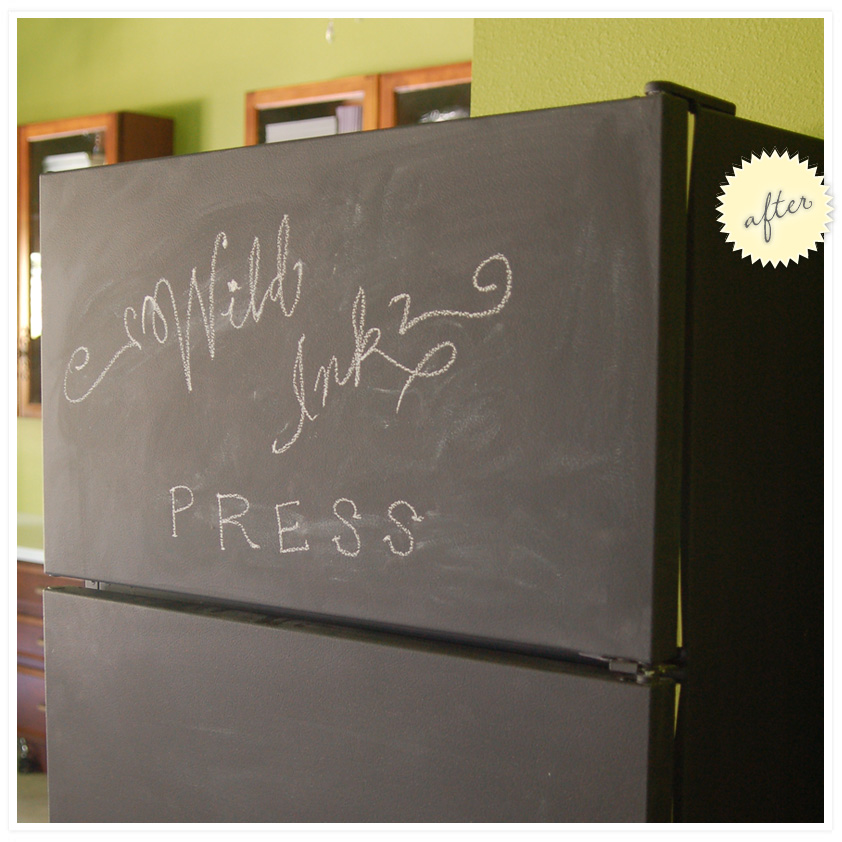
Wipe dusty fridge clean. Remove hardware (we ended up leaving the handles off, although I painted them separately). Lightly sand fridge. Tape rubber lining so you don’t paint it. Prime fridge. I used gray rustoleum primer (roll-on, not spray) for metal objects. I rolled the fridge because it’s just too dang big to spray… seriously, how many spray cans would that be? Rolling worked great – mini-roller and brush in combo. I rolled two coats of black chalkboard paint, and voila! I was done. Oh, and I waited three days for it to “cure” before I “seasoned” the whole fridge with chalk. Okay, it was really, really easy. Chalkboard paint is about the most forgiving paint ever. Be sure to stir the can often though, as the sediment can sift to the bottom fast. All right, ready for the after?

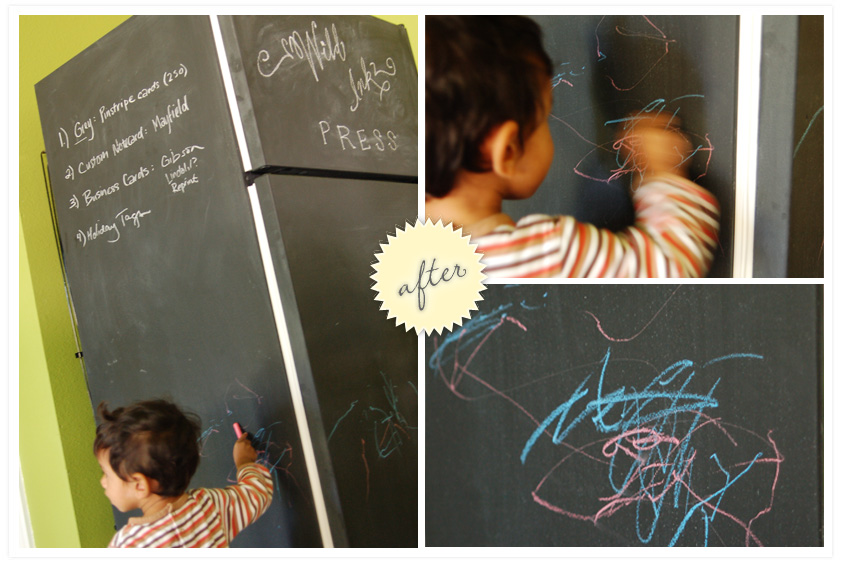
fridge afterBe still, my heart! Another artist surface is available to me! Not only to me, but to this little guy…

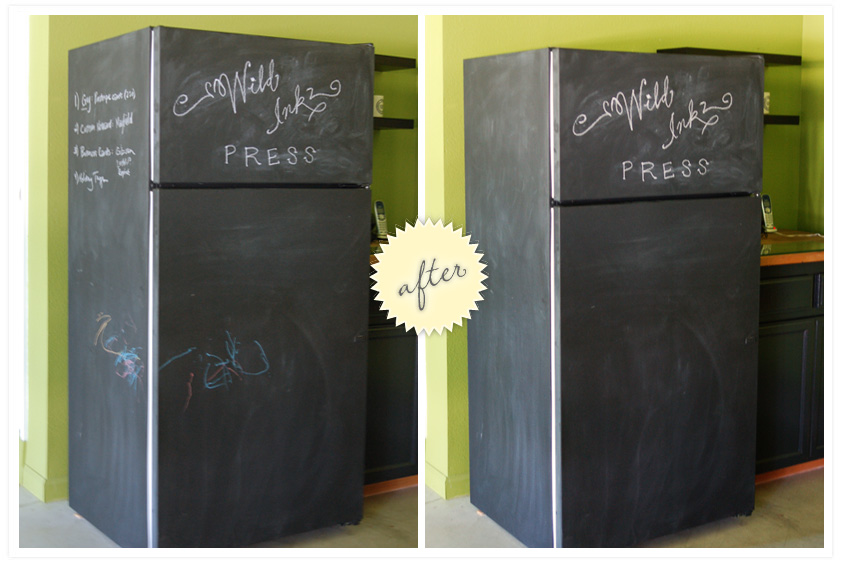
I see we have a new Michelangelo on our hands. Or maybe a Pollock. The new and improved fridge is also a great spot to write the day’s print jobs:

Maybe not for your main kitchen (although, why not?) but for the studio, it’s perfect. Yet another thing you can rescue with paint. And all for under $20.

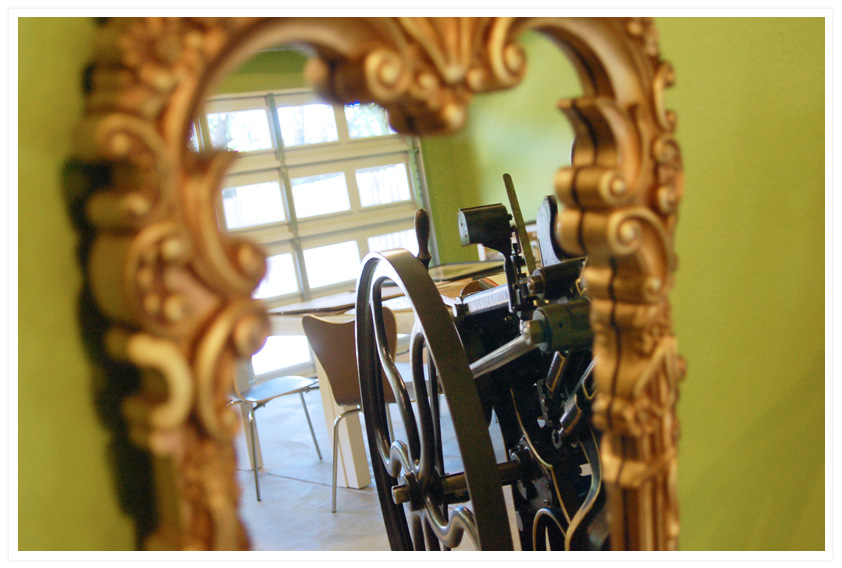
Speaking of the studio, we’ll have a mini-tour / before and after of the place within the week, I promise. I’ll leave you with a sneak peek through my favorite mirror…

Do something DIY this month! You won’t regret it!

tiny happy: shoulder bag tutorial

tiny happy: shoulder bag tutorial

shoulder bag tutorial

Here's a rough pattern and guide for making a shoulder bag like one of these, as promised. These are really easy to make, and I always have so much fun choosing fabrics and buttons for them. I have to warn you however that i'm not very good at explaining things in words, so I hope you can understand my general meaning in these directions! Please email me if you need further instruction, and I'll be happy to help! I couldn't work out how to do a PDF file so this is a very basic and d-i-y version of a pattern! As you can see, I've drawn a tiny, rough and very much NOT-to-scale outline of the pattern which you will need to draw to the proper measurements yourself on some tracing paper or a piece of newspaper. It doesn't matter if it's not quite right, as long as it's symmetrical. The entire length of the pattern is 28 inches. This will make a bag that's a good size for your wallet, keys and a few books, but it's easy to make it a bit deeper or the strap a bit longer, if you wish. Just add a couple of extra inches. Umm, and that measurement on the strap should say 18". Sorry about that.

Pattern

Once you've drawn and cut out your pattern, cut two from your chosen bag fabric, and two from your lining fabric. I usually use recycled fabrics- old curtains, blankets, vintage bits and pieces... but you could use anything that takes your fancy. Something fairly sturdy for the outside works best though. After cutting these out, I also cut a pocket for the inside, I use some of the outer fabric for this, cut into a rectangle about 8" X 6.5". Then I cut a strip measuring 5" X 1.5" to make a loop with which to fasten the bag to a button, if you choose to use this method. You could also make two ties to fasten, or use velcro or a snap fastener.

1. Start with your outer bag pieces. Place right sides together, and sew the seams at each edge, between the *s on the pattern, like this:

Step1

2. Then open out the piece so that the seams are at the front and back of the bag. Sew along the bottom seam.

Step2

3. Then square off the corners by pinching each one out, then sewing straight across about an inch from the corner's edge. Trim excess.

Step3

4. Repeat these steps with the lining pieces, but remember to leave a gap in the bottom seam, for turning inside-out later on.

Step4

5. Overlock or zig-zag the top edge of your pocket. Press the edge down about half an inch, and top-stitch. Then press your pocket half an inch all around. Pin to the outside of the lining where you would like it, and stitch it down.

Step6

6. Make your loop for the button. Press in both edges of the strip towards the centre, then fold in half and press again. Sew the edges together (this is just like a bias strip.)

Step7

7. Now sew the lining and outer pieces together. Place one inside the other, right sides together. Match centre seams, and pin. Insert your loop between the two layers on one side of the bag, so the ends of the loop are sticking out, and pin it securely.

Pinning

8. Sew about 1/4" from the edge, all along both sides of the bag, right up to the top edges.

Sewing

9. Now clip like mad around the curved edges, nearly to the seam.

Clipping

10. Turn the bag right-way-out through the gap in the lining. Now press all around the edges of the bag where you have sewn, so that both layers 'sit' nicely. Trim the tops of the straps so they're even and of equal length.

Pressandtrim

11. Sew the top of the strap together- at just the outer pieces. Place right sides together, and sew a 1/4" seam. (This is a bit fiddly under the machine, but it's okay.) Press down. Then tuck in the lining pieces at this point and hand-stitch it closed.

Handsew

9. Press the strap again and if you are happy with everything, top-stitch a 1/4" seam all around the edges of the bag. Hand-sew the gap in the lining closed. And hand-sew a big button on the front of the bag, in such a position so the loop will fit nicely around it.

Button

10. Ta Da! Enjoy your new bag! I'm off to eat this chocolate.

Chocolate

p.s. please email me a picture if you try this out because I'd love to see it! Also, this is my first time doing instructions like these, so please let me know if I need to make corrections. Thanks!