{ a whole new… fridge. }
Lots of busy design going on here today, so this will be a pretty short post. Dipping my toe into the DIY explanation world here, I thought I would start with something pretty simple. A fridge. A worn out, in-your-garage, second-storage-for-parties sort of fridge. Well, maybe some of you have a fridge like this as your main refrigerator. I know we sure did in our first apartment!
Here’s a before pic of said second/studio fridge. Now, this is ALSO a before shot of what the studio looked like, and it’s pretty grotty. There’s a bit of cabinet painting going on (when we were redoing our kitchen last year, long story for another post), and a lot of funky haven’t been sorted or organized yet mess from moving in. You’ll just have to trust me that it’s gone now. Yup, it’s been moved into a whole other room. Sigh. Wait, I was going to show you the refrigerator:
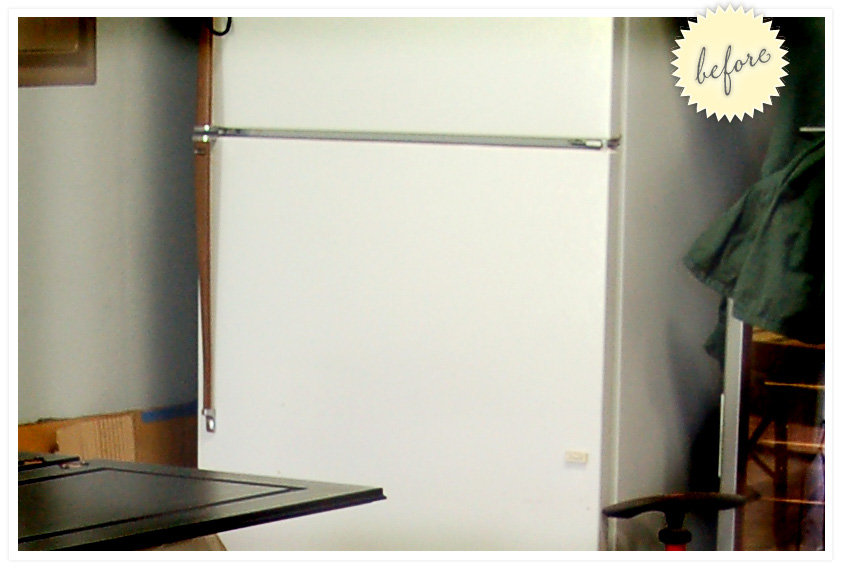 Okay, functional, but not the greatest looking thing in the world. And it had a few big scratches and some leftover tape stuck to the sides. Now this is the point where a true DIY explainer would have great in between shots: close up of paint, supplies, paint brush in action, tarped and taped fridge, etc. Well, I forgot to take photos of those steps. What can I say, it was before I was blogging conscious. { sorry. } But I’ll give you my best little run-down:
Wipe dusty fridge clean. Remove hardware (we ended up leaving the handles off, although I painted them separately). Lightly sand fridge. Tape rubber lining so you don’t paint it. Prime fridge. I used gray rustoleum primer (roll-on, not spray) for metal objects. I rolled the fridge because it’s just too dang big to spray… seriously, how many spray cans would that be? Rolling worked great – mini-roller and brush in combo. I rolled two coats of black chalkboard paint, and voila! I was done. Oh, and I waited three days for it to “cure” before I “seasoned” the whole fridge with chalk. Okay, it was really, really easy. Chalkboard paint is about the most forgiving paint ever. Be sure to stir the can often though, as the sediment can sift to the bottom fast. All right, ready for the after?
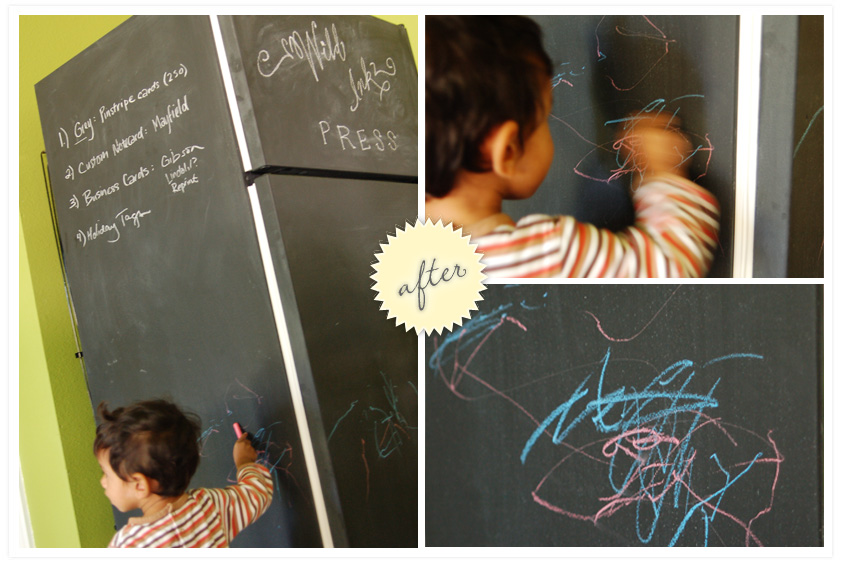
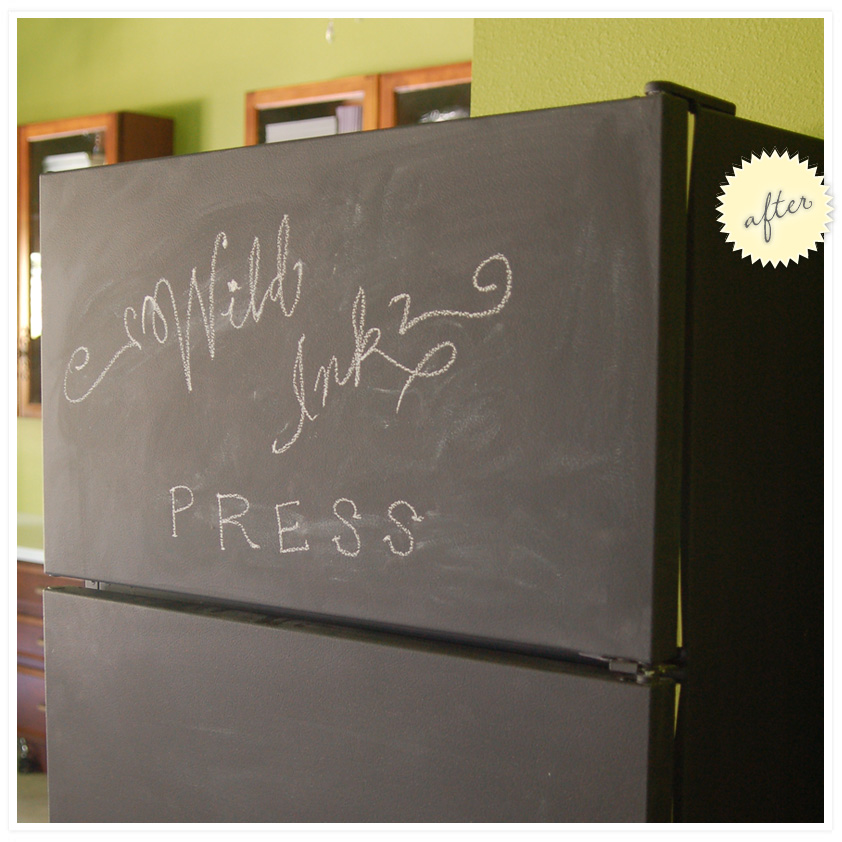 Be still, my heart! Another artist surface is available to me! Not only to me, but to this little guy…
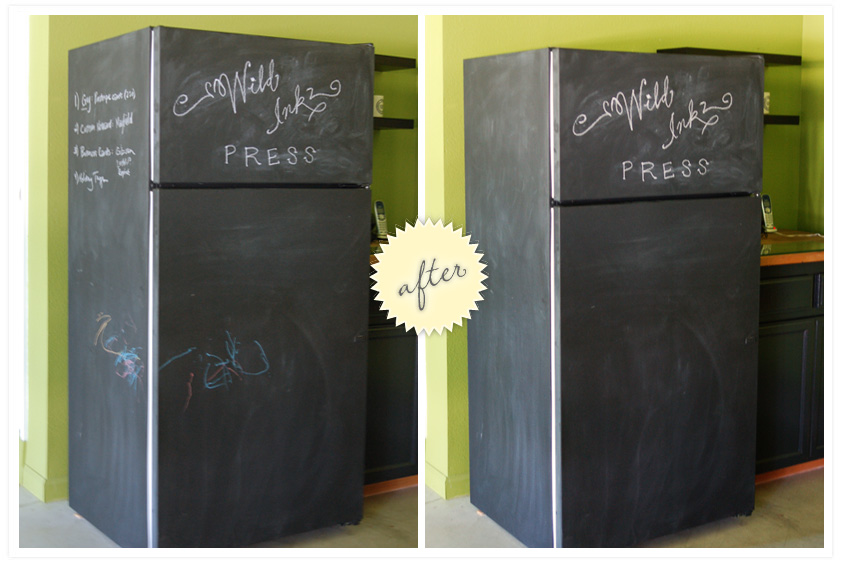
I see we have a new Michelangelo on our hands. Or maybe a Pollock. The new and improved fridge is also a great spot to write the day’s print jobs:
Maybe not for your main kitchen (although, why not?) but for the studio, it’s perfect. Yet another thing you can rescue with paint. And all for under $20.
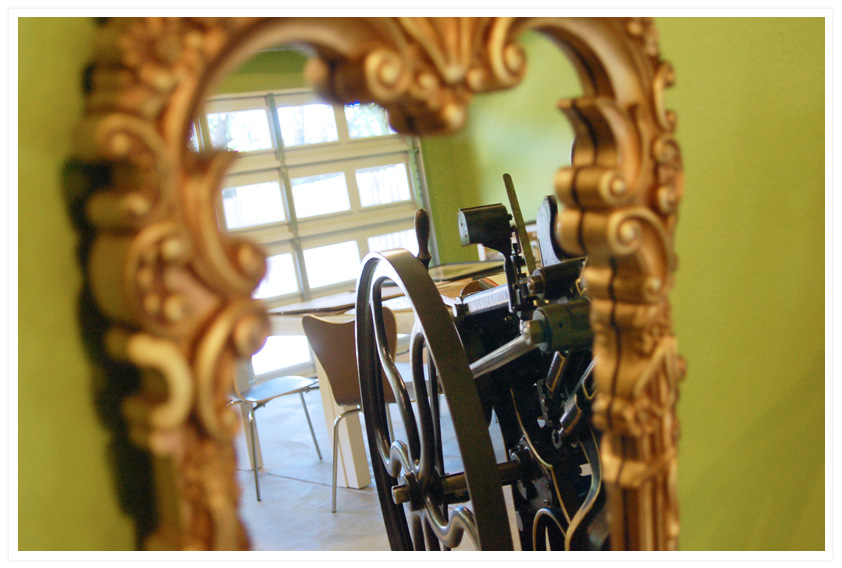
Speaking of the studio, we’ll have a mini-tour / before and after of the place within the week, I promise. I’ll leave you with a sneak peek through my favorite mirror…
Do something DIY this month! You won’t regret it!

OMG, I love, love your frig. It came out amazing.
ReplyDelete~J3ss1ca
Wow your fridge is so cool!
ReplyDeleteThat is just amazing and looks tons of fun to play with!
ReplyDeleteThat is totally amazing... I wish I had thought of doing this with my fridge instead of chucking it for a new one when it looked old and battered, this would have brought it a whole new lease of life. This is a truly original idea.
ReplyDeleteCookie Crumbles..Xx.
Swap-bot